Sunday, August 31, 2008

Like sex in your mouth.


Well that's what Jaylene said this cake was like. Yes, my baking (and pregnant) friend Jaylene gave me this recipe and said it was so good, it's like sex in your mouth. Obviously I like food, so this was something I had to try. I brought it to a social last night and it pretty much got inhaled.

Apple Cake
1 c. butter, softened
2 1/4 c. granulated sugar
4 eggs
2 1/2 c. all-purpose flour
1/2 tsp. salt
1/2 tsp. baking powder
1/2 tsp. baking soda
1 tsp. vanilla extract
4-5 c. coarsely chopped and peeled apples
2 tbsp. all-purpose flour
1/2 c. brown sugar, packed
1 tsp. cinnamon
1 c. chopped pecans1 c. chopped pecans (I skipped the nuts because I was unsure of people with allergies)

Icing (optional - I didn't make this)
1/2 c. powdered sugar
1/2 tsp. cinnamon-apple extract
2 tbsp. milk
1c chopped pecans

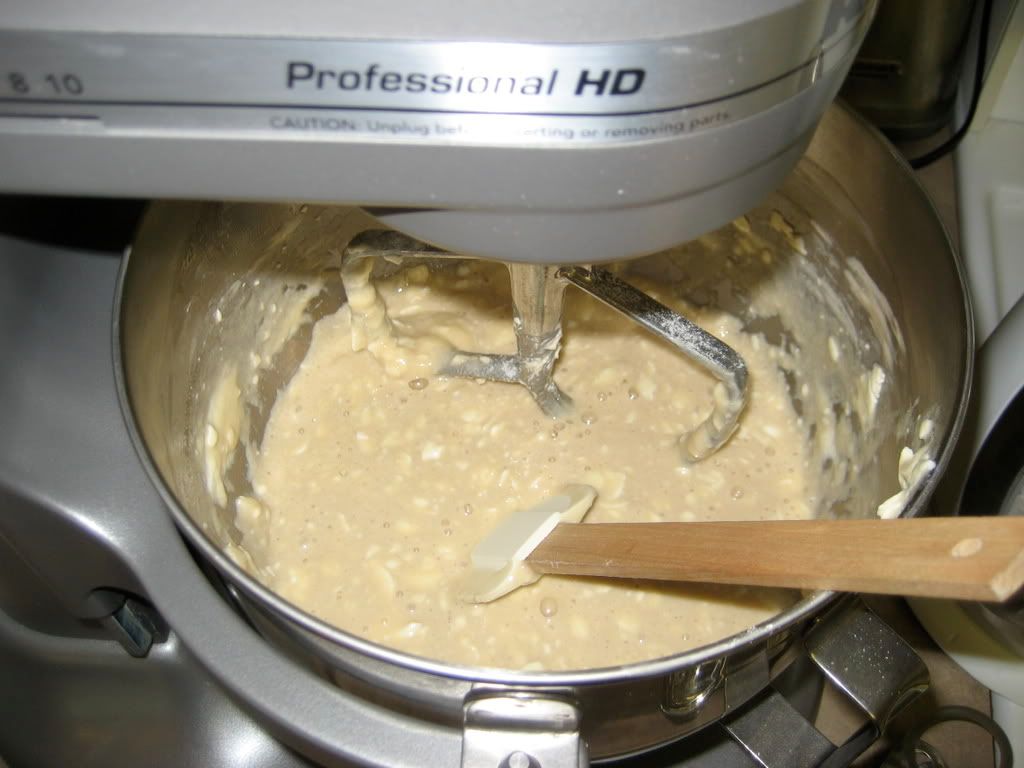
In large bowl cream butter with 2 cups of granulated sugar until light and fluffy. Beat in eggs. Stir together the 2 1/2 cups flour, salt, baking powder and baking soda. Beat flour mixture into butter mixture. Beat in vanilla.

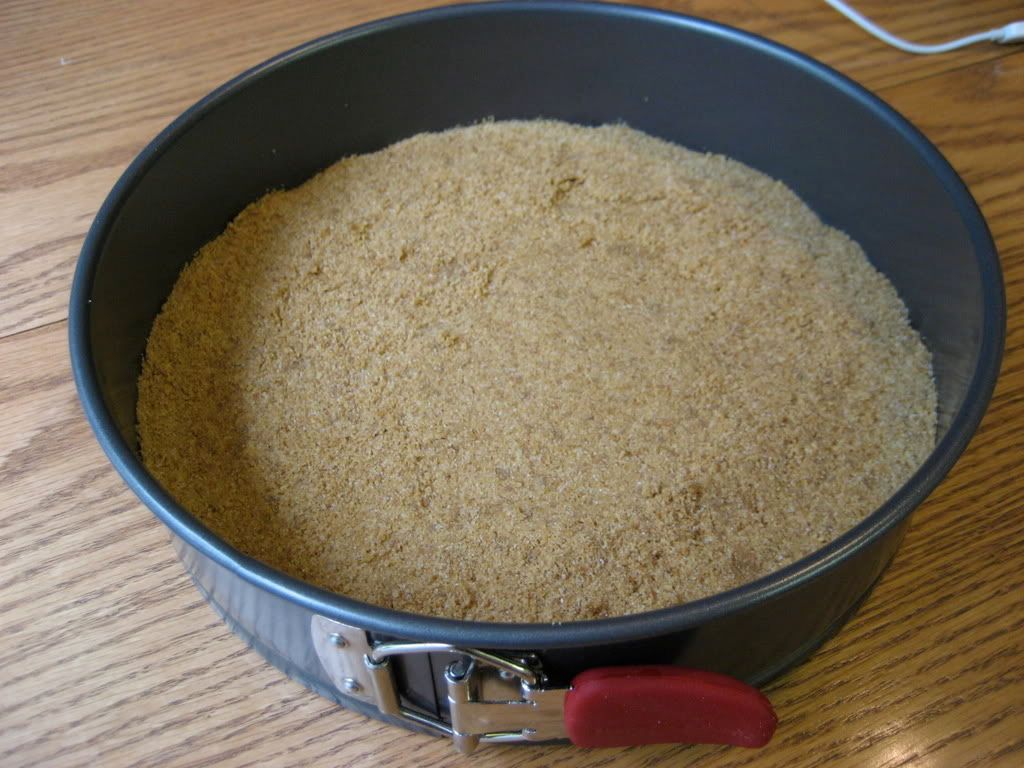
In a medium bowl, stir together apples, remaining 1/4 cup sugar and the 2 tablespoons flour. Fold into batter. Spoon batter into greased and floured 9x13-inch pan (Pyrex works best for me). Smooth with spatula.

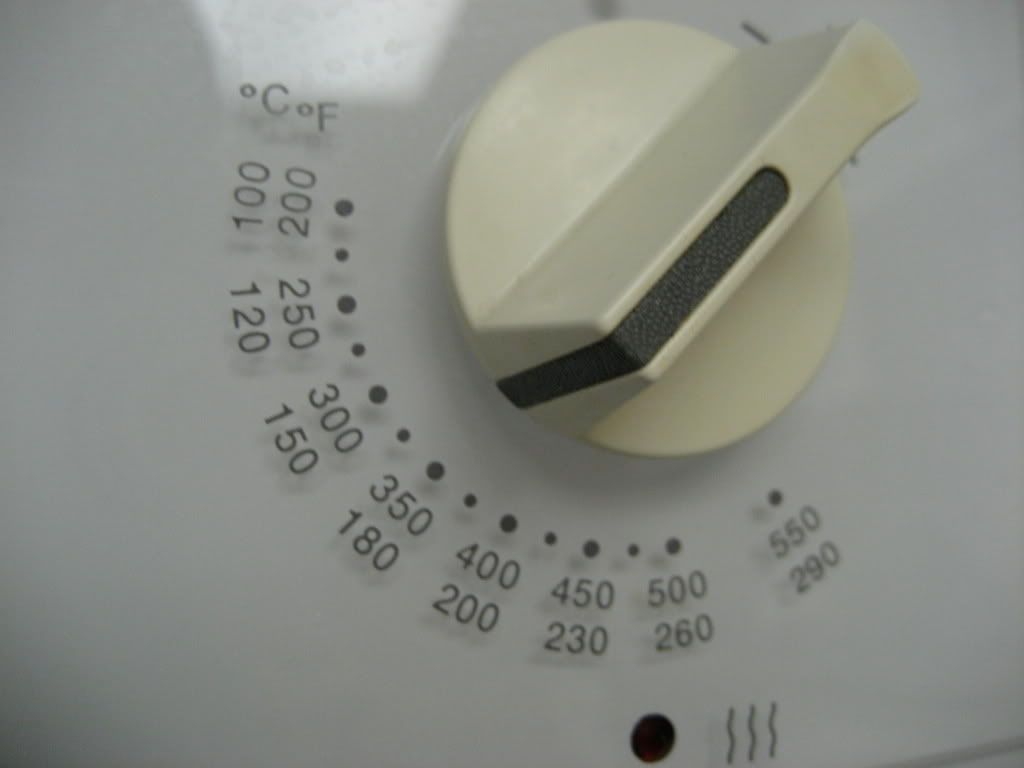
In medium bowl combine brown sugar and cinnamon; stir in nuts if using them. Sprinkle this mixture over batter in the pan. Bake at 350 degrees for 60 minutes (i did only 45 but ovens vary) or until toothpick inserted in center comes out clean. Cool on rack.

Make a glaze of powdered sugar, cinnamon-apple extract and milk. Drizzle over cake...Only if you choose.

Note: I used frozen fresh apples that have been partially defrosted in the ziploc bag from Jaylene's mom's tree, it helps make the batter and then the baked cake more moist.

Try not to eat this whole cake yourself. You should probably share it, your waistline will thank you.

Saturday, August 30, 2008

Ice Cream Cupcakes


Taken from the Cupcake Bakeshop

Cupcakes
makes 24 cupcake ice cream cones / 350 degree oven

2 cups flour
2 cups sugar
1/2 cup unsweetened cocoa powder
1-1/2 teaspoons baking soda
1-1/2 cups milk
1/2 cup butter
2 teaspoons vanilla
2 eggs

1. measure out everything but the eggs directly into your mixer bowl
2. mix on low speed just until incorporated
3. beat on high speed for 2 minutes
4. add eggs, beat on high speed again for 2 minutes
5. transfer batter into a container with a pour spout (like a pyrex measuring cup)
6. pour batter into ice cream cones, leave a good half inch between the batter and the top of the cone
7. bake at 350 for about 20 minutes or until cake tester comes out clean

Thursday, August 21, 2008

Time for a new hobby...


Yes that's right. I got fat... and I blame it on the KA. Well, that and my inability to exercise my willpower. So anyway I have put cooking and baking on the back burner for now (still doing it, just not overload like I was doing!) and I am going to start into the world of photography.

I had the most exciting Ebay experience ever on Sunday night. I was watching my auction to make sure I didn't get outbid, and sure enough, with 1 minute and 13 seconds left, some !@#$ outbid me! Well, my competitive nature sure wasn't going to let them get away with it, so I upped my max bid and I won at the very last second.


I am the proud new owner of a Canon Rebel XTi, with a silver body. Included in the auction was:

Canon Lens EF 28-90mm 1:4-5.6 - Standard Zoom Lens
  • Canon UltraSonic Lens EF 90-300 1:4-5.6 - Telephoto Lens
  • Digital Visions of Japan, 58mm 0.5x "fisheye wide-angle" digital lens with macro
  • 4GB Compact Flash (XS) memory card

  • Three (3!) long-lasting lithium batteries and recharger
  • Camera bag
  • Three additional protective pouches
  • Two (2) lens filters - one is a nice SunPak circular polarizer 58mm. The other is a standard clear filter to protect your lens.

  • I love a bargain.

    I am so happy to have won this auct
    ion for many reasons...mainly because I really wanted to do stuff with telephoto and macro lenses. I also can't wait to try out the fish eye aspect as my wedding photographer uses those lenses and his work is incredible.

    Here are some photos I took with hubby's Canon Powershot SD630 Digital Elph point and shoot camera.


    Saturday, August 9, 2008

    Cheesecake


    *YOUR CHEESECAKE SHOULD NOT LOOK LIKE THIS!!!*

    Sometimes I screw up. And this time I really screwed it up but at least I was able to fix it without any major tragedies!! NOTE: Cream the cream cheese before adding the other ingredients. Otherwise it will get all gross like in the above picture.

    Once I re-did the mixture, the cheesecake itself turned out to be a huge success. Everyone loved it, it was just the right texture and sweetness.

    Jaylene's "not mine but close enough" Cheesecake

    You'll need a 9" Spring Form Pan

    Preheat the oven to 350 degrees

    1 1/4 c. graham crumbs
    1/4 c. sugar
    1/4 c. melted butter

    Mix the above ingredients together and press into pan for crust.


    2 (8 oz.) cream cheese
    1 c. sugar
    4 eggs
    2 tsp. vanilla

    Cream the cream cheese in mixer until light and fluffy. Add the remaining ingredients and beat until creamy and pour over crust.

    Bake until light brown around edges only (about 25-30 mins). Cool and top with pie filling of your choice or anything else you choose.

    Keep refrigerated.

    Summer Salad


    My inspiration for this salad came from two places, I found this picture on TasteSpotting and I remembered a salad I had eaten at Nemo in South Beach. The above picture was originally located on a food blog completely in Finnish and none of the online translators could translate it fully, so I improvised.

    This experiment turned out smashingly well. I took it to the inlaws' for hubby's dad's birthday dinner, and everyone loved it. Considering it was a super hot day this was refreshing to eat, and just the right flavor mixture with the sweetness of the watermelon and the saltiness of the feta.

    Watermelon and Feta Salad with Lemon Vinaigrette

    Spinach, fresh greens or Butter Lettuce
    Watermelon -
    cut into triangles about 1/4" thick and about 2" across
    Feta Cheese -
    cut the block in half diagonally to create a triangle, then slice 1/8" thick
    Toasted nuts/seeds - (I used pine nuts and pumpkin seeds)

    Dressing
    1/2 cup extra virgin olive oil
    2 tablespoons freshly squeezed lemon juice
    1 teaspoon dijon mustard
    1 1/2 teaspoon fresh thyme leaves, chopped
    1-2 cloves of garlic, minced (depending on how garlic-y you want it)
    1 teaspoon coarse salt (I used Kosher salt because that's what was in the cupboard)
    Pinch of freshly cracked pepper (I used normal pepper)

    Combine everything in a bowl and whisk together until blended. Refrigerate until ready to serve.

    To toast the nuts: simply place them in a skillet on med/hi heat. Pine nuts will start to look toasted and raw pumpkin seeds (de-hulled) will pop and crackle in the pan. It should take only 2-5 minutes to toast both.

    Pour the dressing on the spinach/lettuce and mix it up so the greens are coated. Next, sprinkle the nuts on top and finally place the watermelon and feta on top.

    I'm cautious of throwing it all in the bowl and mixing it up that way because I was scared of wrecking the cheese and watermelon triangles.

    Next time if I serve this at my place I'd like to serve it up individually on plates so it would look nicer.

    Thursday, August 7, 2008

    Stuffed Chicken Breasts


    This was a really easy and quick meal to make. Not a lot of prep involved and hubby loved it.

    Next time I might use a different pasta sauce, like perhaps a more chunky version, or add in some canned mushrooms. Otherwise it was really tasty!

    Stuffed Chicken Breasts
    from The Foodie Fashionista

    4 (6 ounce) chicken breasts
    3/4 cup fat-free ricotta cheese
    1 cup shredded mozzarella cheese
    1/4 tsp garlic powder
    1/4 tsp dried oregano
    1/4 tsp dried basil
    1/4 cup frozen chopped spinach (or you can steam/chop fresh spinach)
    1/4 red pepper, diced
    3/4 cup marinara sauce


    Preheat oven to 350 degrees.

    Place chicken breasts between 2 sheets of plastic wrap and pound each with a meat mallet until 1/4" thin.

    In a bowl, mix ricotta, 1/2 the mozzarella, and seasonings. Lay chicken breasts flat and spoon 1/4 of the mixture onto each breast. Spread evenly to cover the entire surface of each breast. Add 1/4 of the spinach and 1/4 of the diced pepper to each breast. Roll each breast in a jellyroll fashion, starting with the narrowest end.

    Spread 1/4 cup of the marinara sauce in an 8"x8" baking dish. Place each roll, seam side down, in the baking dish. Pour the rest of the sauce over the chicken breast. Cover and bake for 20 minutes. After 20 minutes, uncover and sprinkle remaining mozzarella cheese over chicken breasts. Bake until melted, about 5-7 minutes.

    Yields 4 servings.

    *This recipe is Weight Watchers friendly:

    core - included
    flex - 5 points each

    Visit The Foodie Fashionista for more WW friendly recipes.

    Wednesday, August 6, 2008

    My Psycho Oven

    As previously mentioned, my oven is psycho. It cooks way hotter than the temparature on the dial. Hubby said "there's nothing wrong with the oven, it's you.", jokingly of course. Right.

    So, desperate to prove I'm not crazy, I sought out some info on how to re-calibrate my oven's temperature, and found this tutorial (which was great by the way), however did not work for my oven because alas I do not have the ability to calibrate it myself. Stupid Kelvinator.

    I did follow some of the instructions and got an oven thermometer. I think the following photos should speak for themselves.


    Saturday, August 2, 2008

    BBQ Food!


    We had a BBQ/Wii party last night and it was a great opportunity for me to really test my skills. I made a few mistakes but it all turned out fabulously anyway! Everyone said they really enjoyed the food and one person, who says he hates cheesecake, said it was the best cheesecake he ever had (and had two pieces!) lol!

    Unfortunately I got too busy and forgot to take pictures off all the wonderful creations.

    Spinach and Artichoke Dip
    from Good Things Catered

    This is the dish I screwed up...but it ended up being so freakin' amazing I will make it again with the new recipe!
    Ingredients:
    2 (14 oz) cans of premium artichoke hearts
    3 Tbsp olive oil
    salt and ground black pepper
    16 oz. baby spinach leaves
    1 medium onion, minced
    2 medium garlic cloves, minced or pressed
    1/4 c. mayonnaise
    8 oz. cream cheese (1 block), at room temperature
    *original recipe calls for 4oz of cream cheese
    1 1/2 c. assorted cheeses, grated
    (I used parmesan, asiago, and mozzarella because they came pre-shredded and I'm lazy.)
    2 Tbsp fresh lemon juice
    1/4 tsp thyme (the dried/ground kind)
    1/8 tsp cayenne pepper
    1/4 c. grated Parmesan cheese, grated

    Directions:
    -Preheat the oven to 450 degrees and line baking sheet with foil.
    -Toss drained artichokes with 1 Tbsp oil, ½ tsp salt and ¼ tsp ground black pepper.
    -Spread out over the baking sheet and roast, stirring occasionally. Until browned at the edges, about 25 minutes.
    -Let the artichoke cool and chop coarse.
    -Meanwhile heat 1 Tbsp oil in a large skillet or Dutch oven over medium high heat until just shimmering.
    -Sauté spinach until wilted and drain thoroughly and transfer to a bowl.
    -Add the remaining 1 Tbsp oil to pan and add the onion.
    -Cook for until softened, about 5 -7 mins.
    -Stir in the garlic and cook until fragrant, about 30 seconds..
    -Transfer to bowl with spinach.
    -Stir in mayo, cream cheese, cheeses, lemon juice, thyme, and cayenne until uniform.
    -Add more cheese as needed! (oink! oink!)
    -Gently fold in artichokes
    -Transfer mixture to large baking dish and sprinkle with parmesan.
    (Here you can cover and refrigerate up to three days if needed)
    -Preheat oven to 400 degrees.
    -Bake dip uncovered until hot throughout and top is golden brown, about 20-25 mins.
    -Let cool at least 5 mins before serving.
    -Prepare to be exercising all week...you'll want to eat the whole thing!

    You can serve this with cut up pieces of sourdough bread, crackers, tortilla chips or (my own invention) Panini chips.

    To make the Panini chips, buy a package of panini bread, cut it up into triangles, brush the pieces with olive oil then sprinkle some Kraft parmesan cheese on top. Broil it at about 350 for a few minutes, until the bread starts turning a nice golden brown. I like easy stuff.